CITY-Xの前輪ブレーキケーブル交換
CTIY-XのハンドルをNITTOのプロムナードバーに変えた時に前輪のブレーキワイヤーはそのまま流用しましたのでちょっと窮屈、あとカゴのステー部分にも接触しててたまにVブレーキが引っ張られて片効きみたいになるのが気になってました
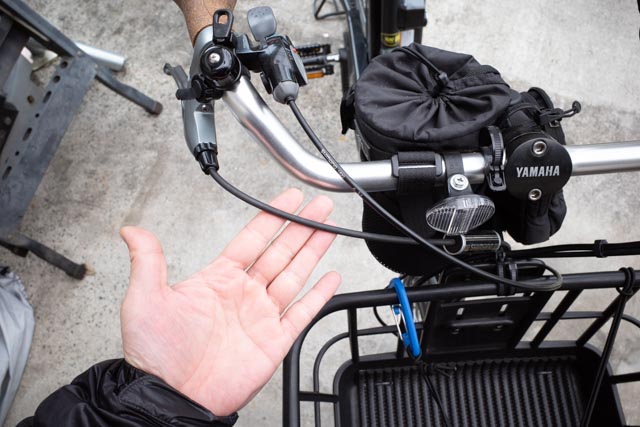
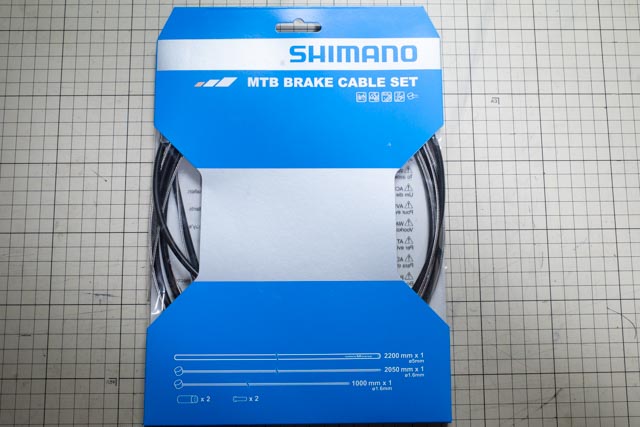
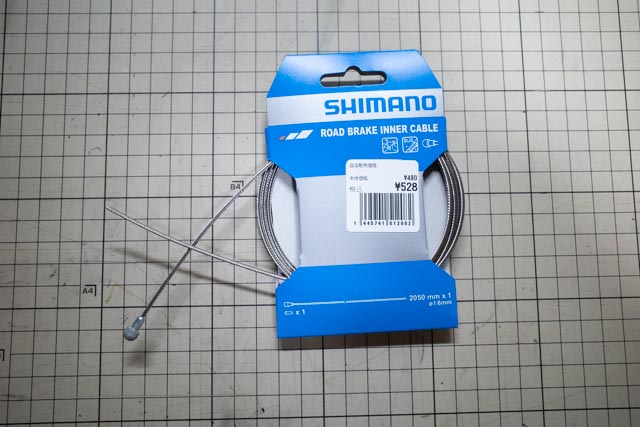
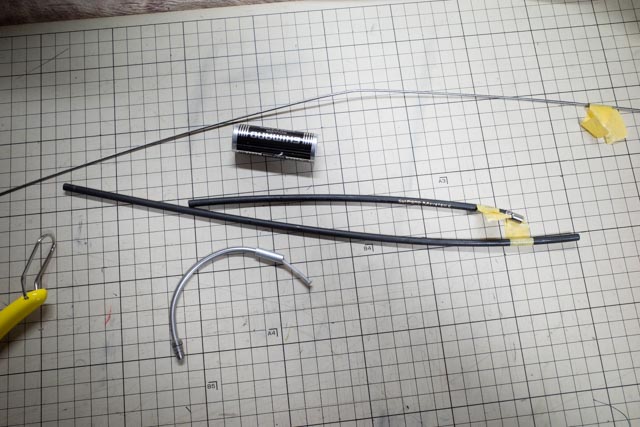
ということでブレーキのワイヤーをちょっと余裕ある長さに交換しようかなと準備しましたのは
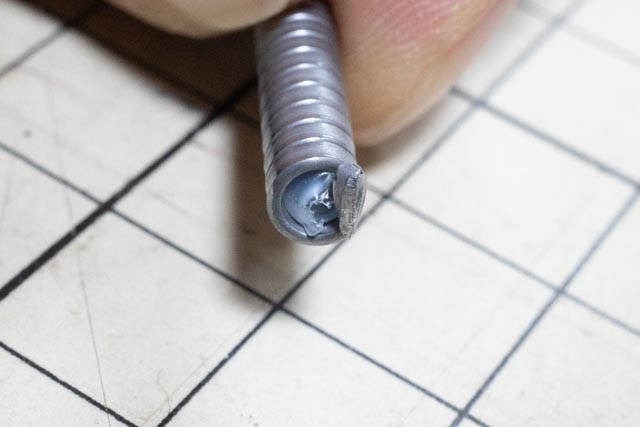
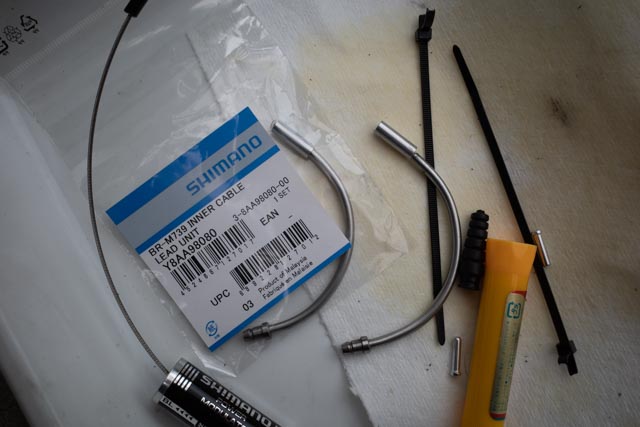
シマノのブレーキケーブルセット(MTB用)
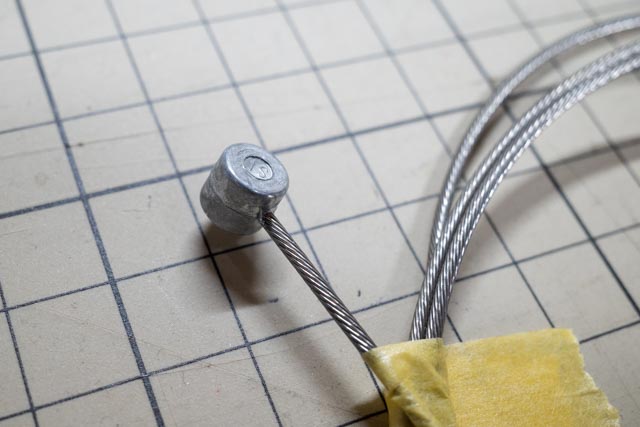
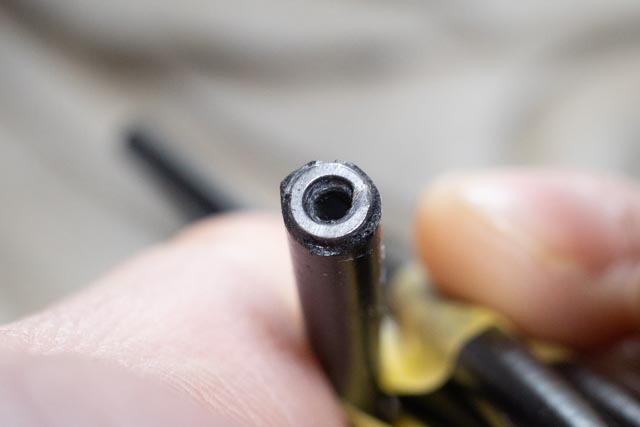
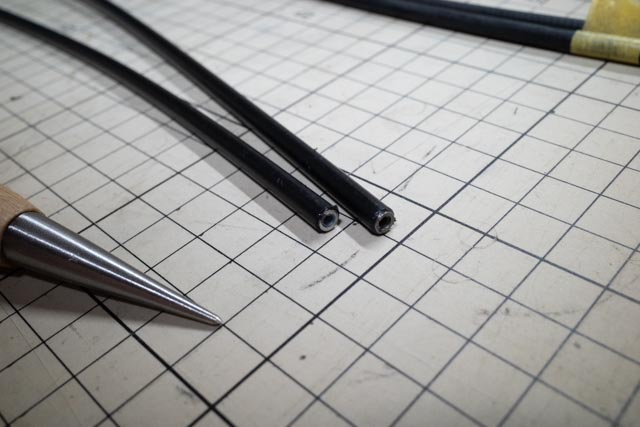
タイコの形がロード用とMTB用で違うらしく注意が必要、MTB用はタイコが円柱型
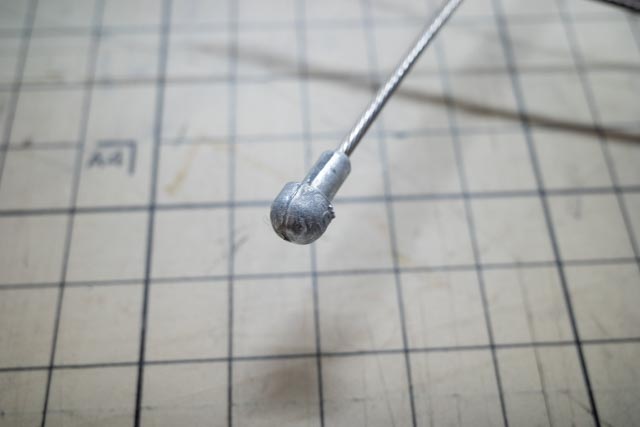
ちなみに間違って買ったロード用はこんな形状
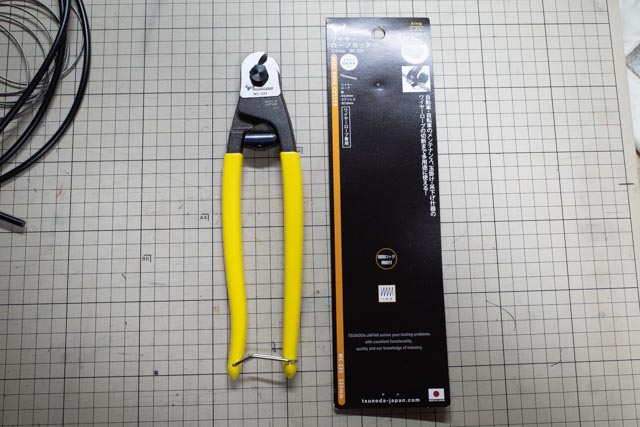
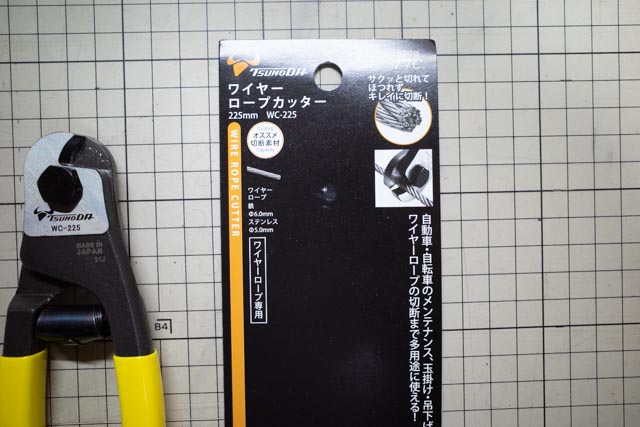
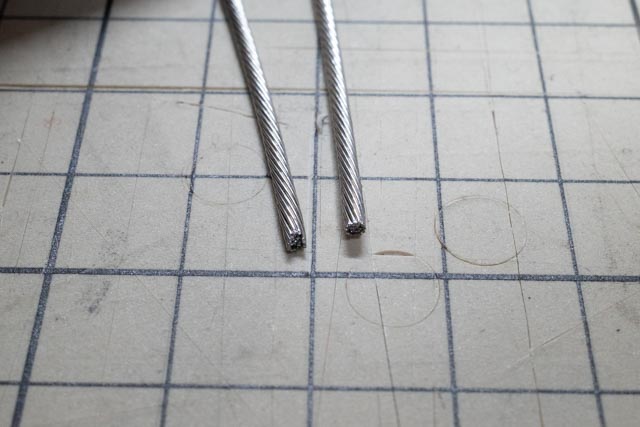
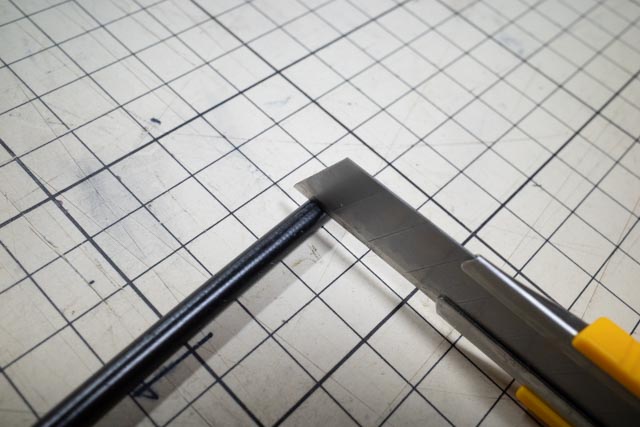
自転車のブレーキケーブルの交換について調べてみるとインナーのワイヤーをほつれさせずにカットするにはワイヤーカッターがどうやら必須っぽいということで
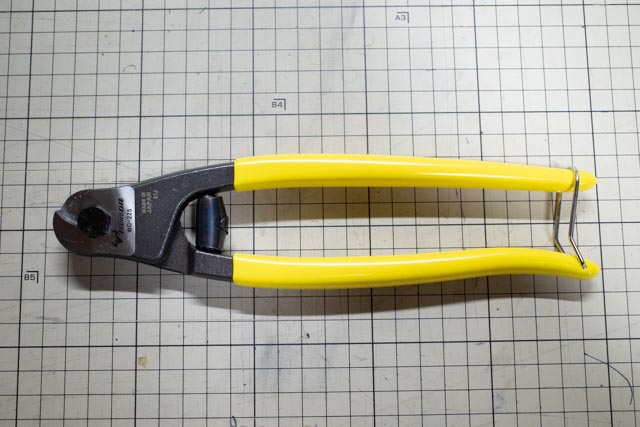
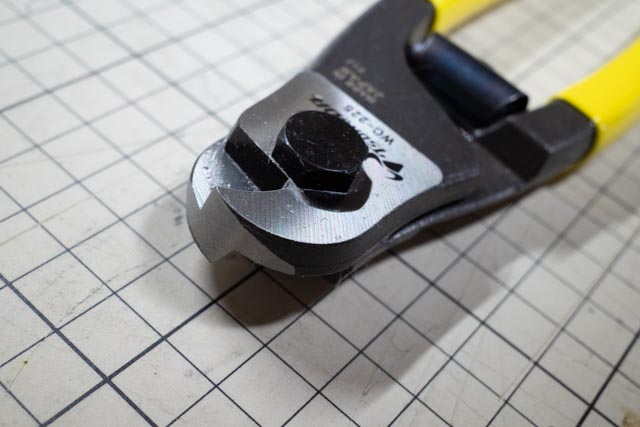
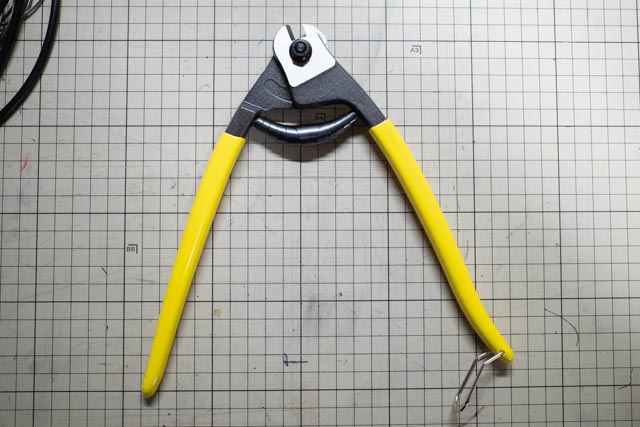
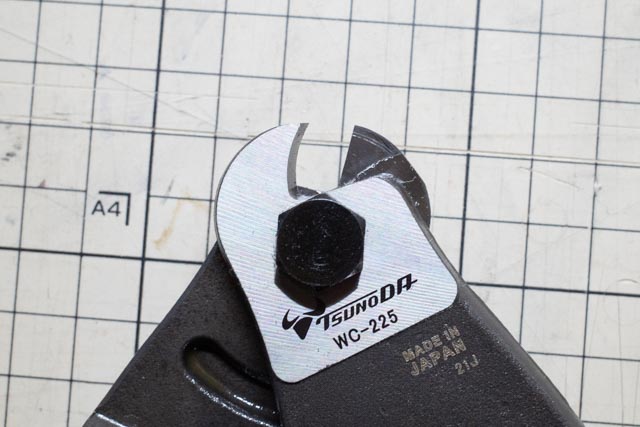
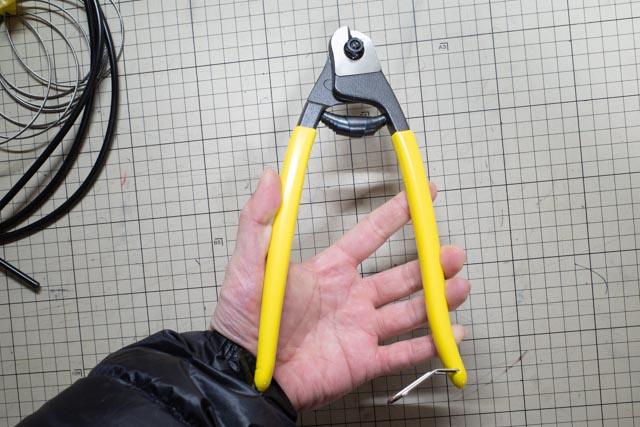
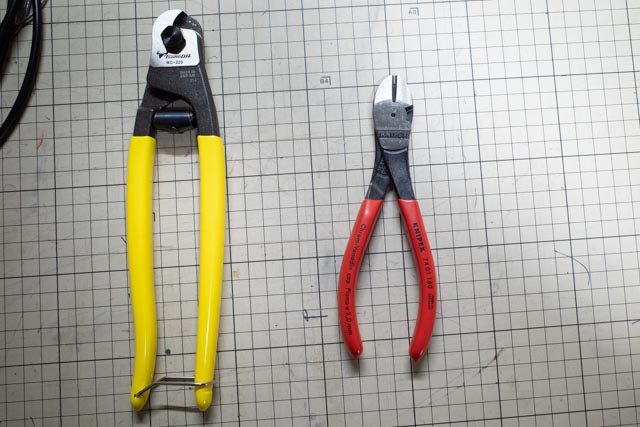
ツノダのワイヤーロープカッター(225mm)も準備
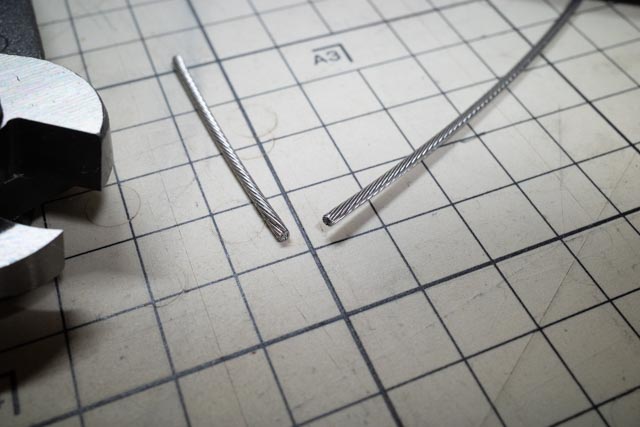
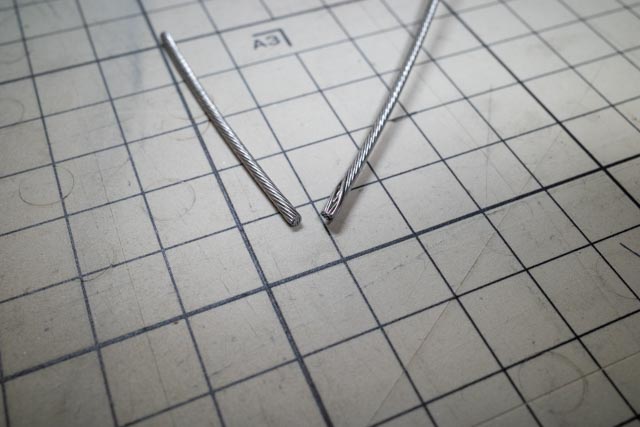
何度かワイヤー切る練習をしまして気づいた事は
「ジワッとゆっくり切るとワイヤーカッターでもほつれるし、ガッと一気に切るとニッパーでもそれなりにキレイ」
というものでした
クニペックスの硬線ニッパーで切るとこんな感じ
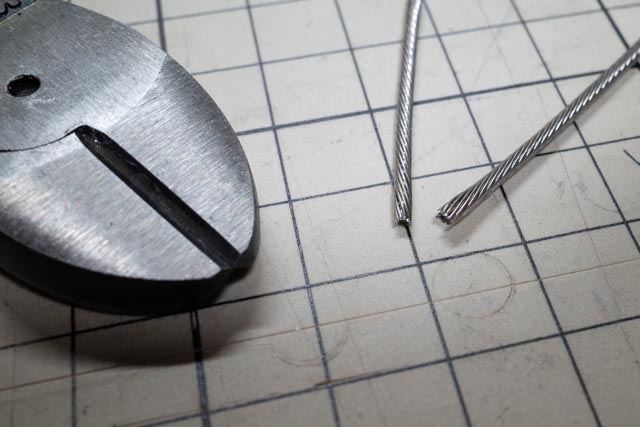
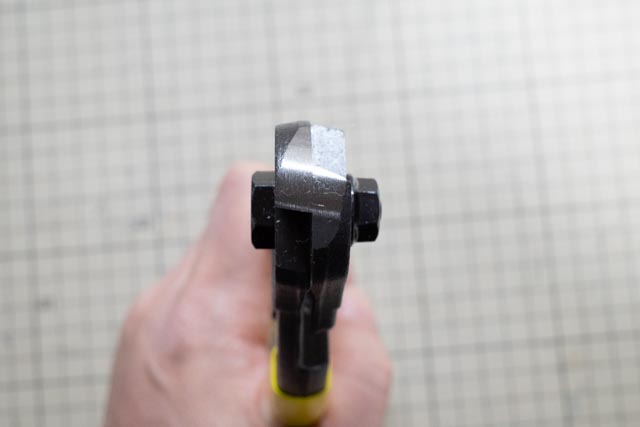
ツノダのワイヤーロープカッターだとこんな感じ
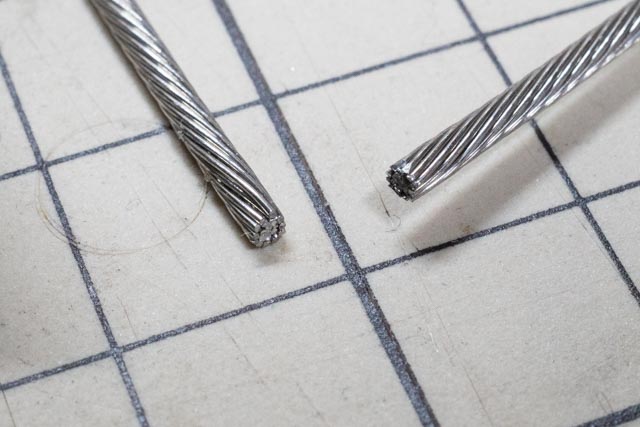
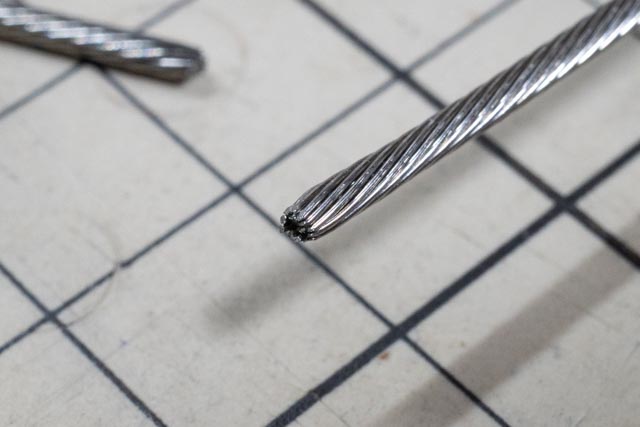
ツノダのワイヤーロープカッターでもゆっくり力をいれてしまうとほつれはする
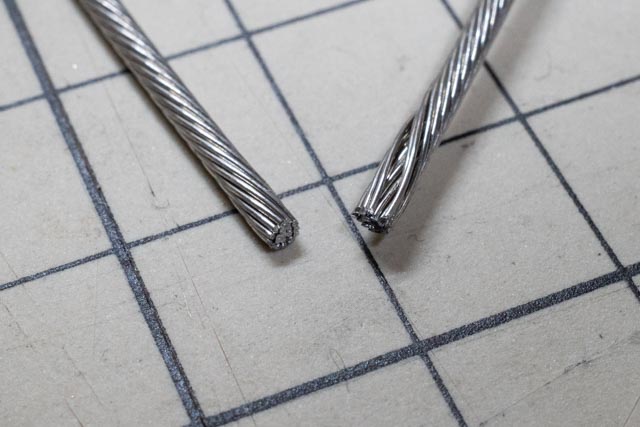
うまくできたのを並べてみる(左ニッパー、右ワイヤーカッター)
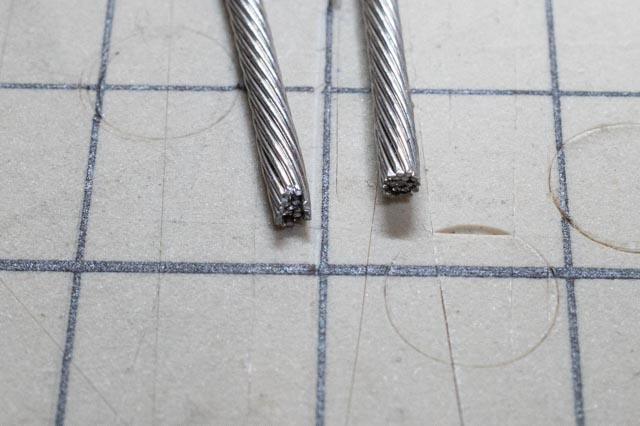
せん断力で切るワイヤーカッターのほうが切り口は綺麗になりやすいように感じました
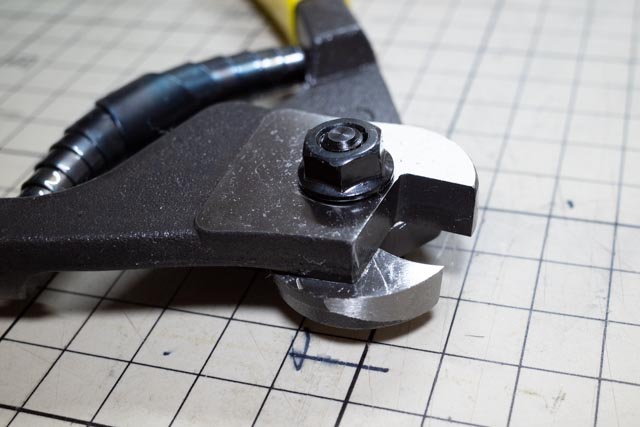
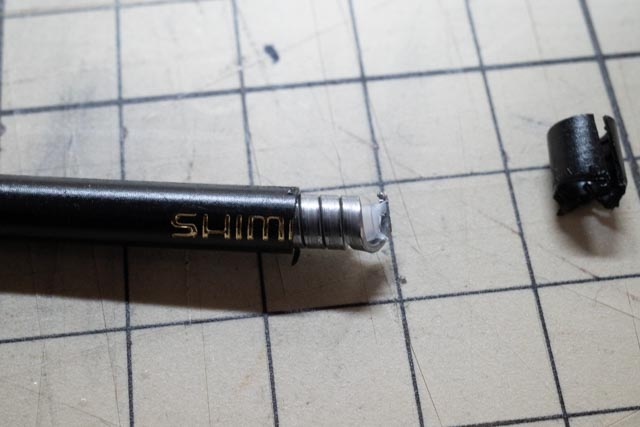
アウターのケーブルも切るために大き目のワイヤーカッターを買ったのですが
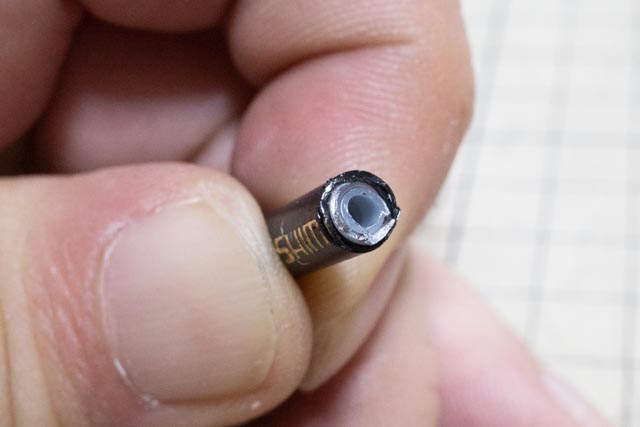
実際に切ってみると写真のようにワイヤーの中に螺旋状に巻いてあるワイヤーが潰れて折り畳まれ潰れて中身のスリーブも引きちぎれてちょっと無残

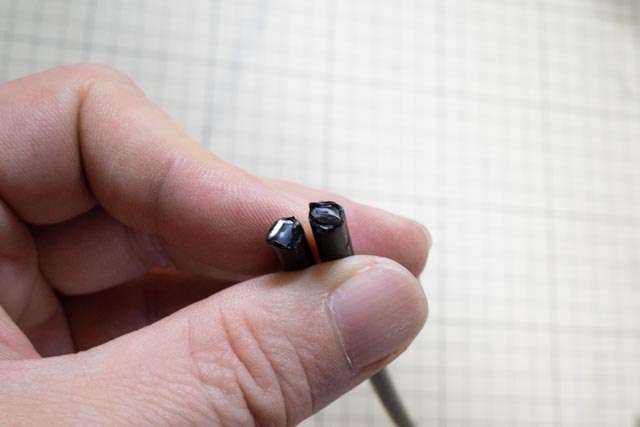
アウターにインナーワイヤーを通してもろともに切ると良いという話も見ましたが螺旋ワイヤーの切れ目に偶然刃が入らないとどうにもあまり変わらず
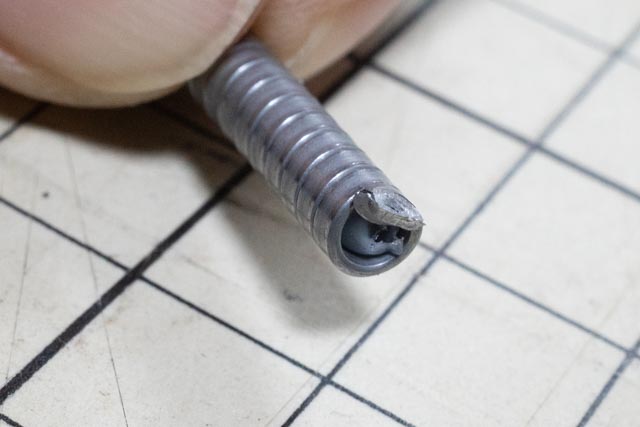
なので
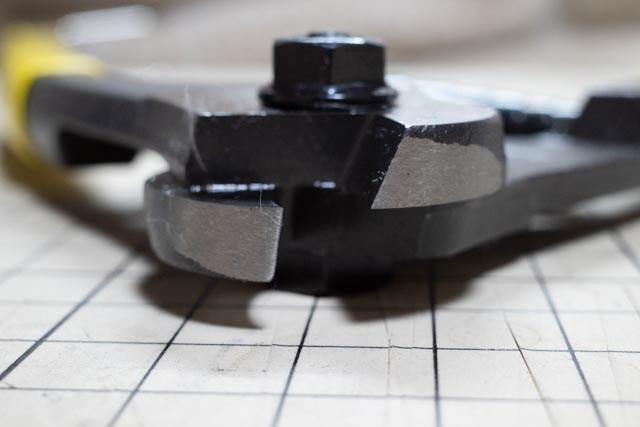
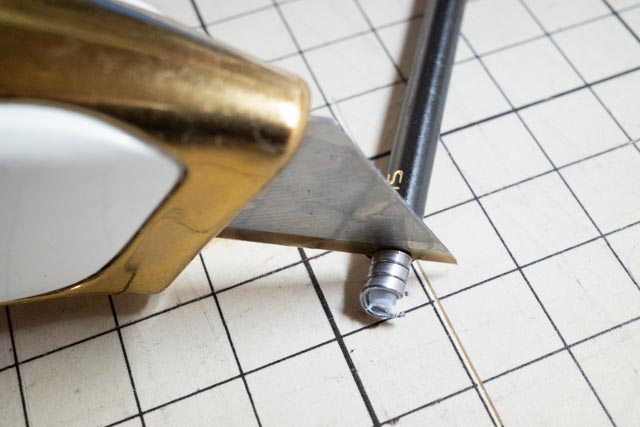
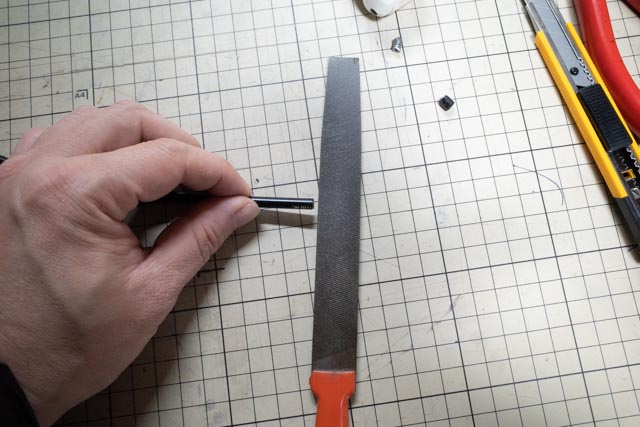
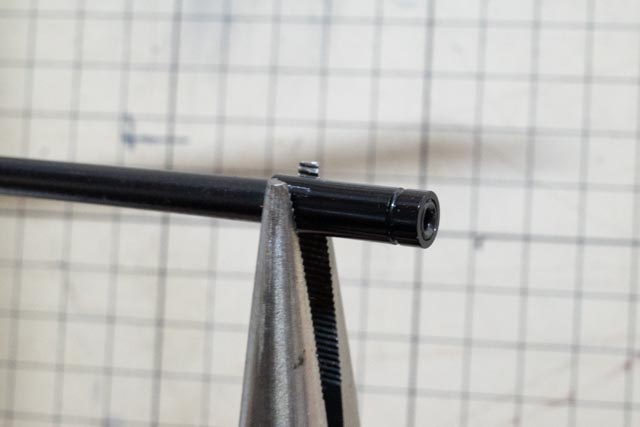
①いったんアウターを少し長めにカット
②カッター少し外側のカバーを剥いて
③カッターを螺旋ワイヤーの隙間に入れてギコギコして内部のスリーブをカット
④ワイヤーカッターを螺旋ワイヤーの隙間にあてて切断
⑤尖った螺旋ワイヤーの切断部分をヤスリで平らにする
という手順でやることにより割とで綺麗にアウターケーブルをカットできました

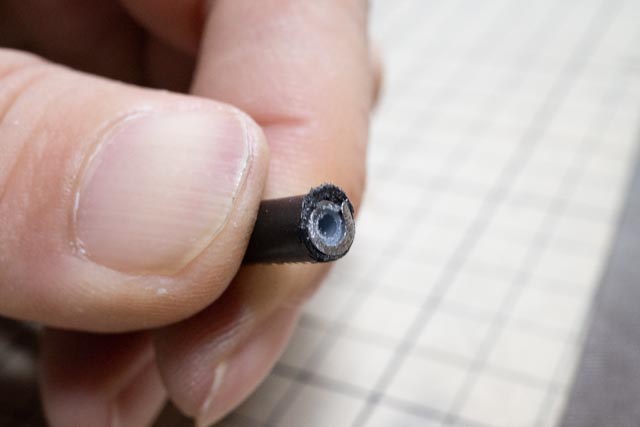
でもこれなら小さいワイヤーカッターで良かったかも・・・
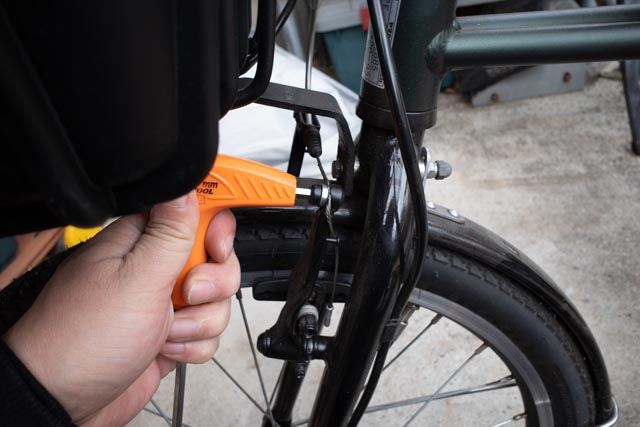
加工手順の確認後に交換作業
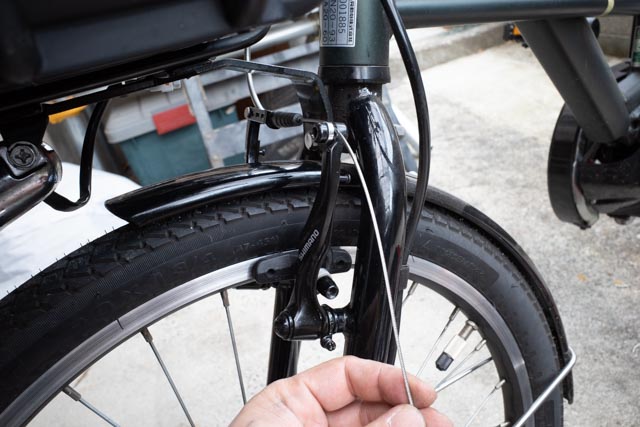
既存のブレーキケーブルを取り外し

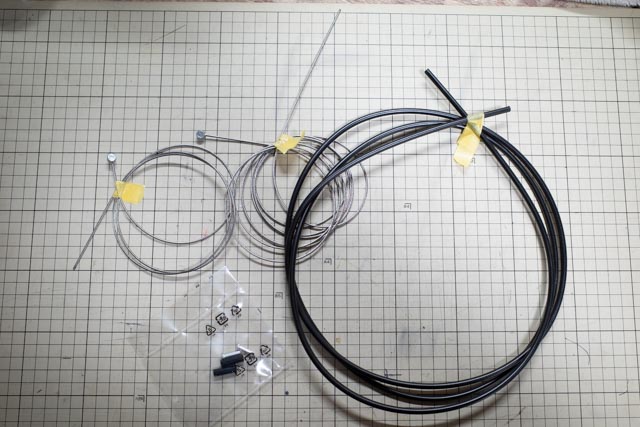
新しいブレーキケーブルの作成
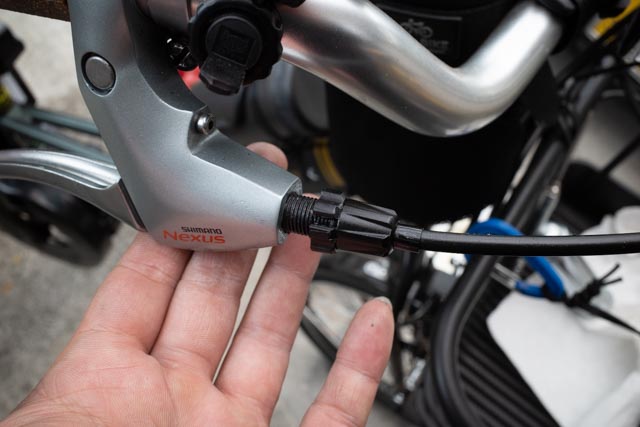
アウターエンドキャップはレバーの所のだけ、ラジオペンチで軽く潰して固定

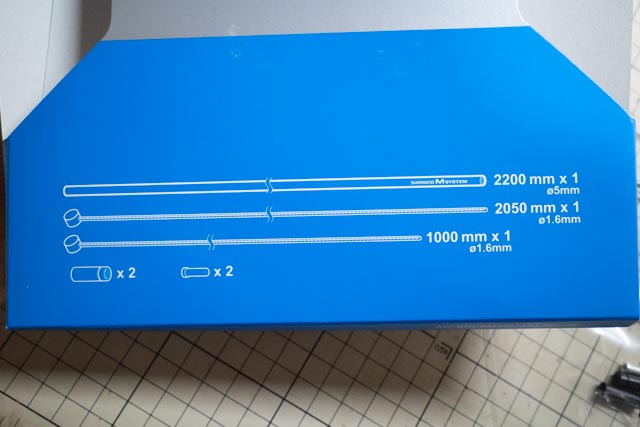
パワーモジュレーターまでのケーブルは200mmくらいまでで限度なので同じ長さで
Vブレーキまでのケーブルは20cmくらい延長して作成(これは長すぎであとで10cm延長に修正してます)
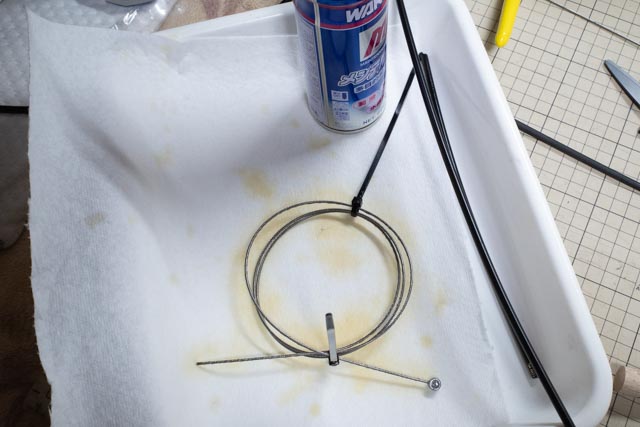
インナーケーブルはメンテルーブを吹いてしばし放置後にふき取って使用


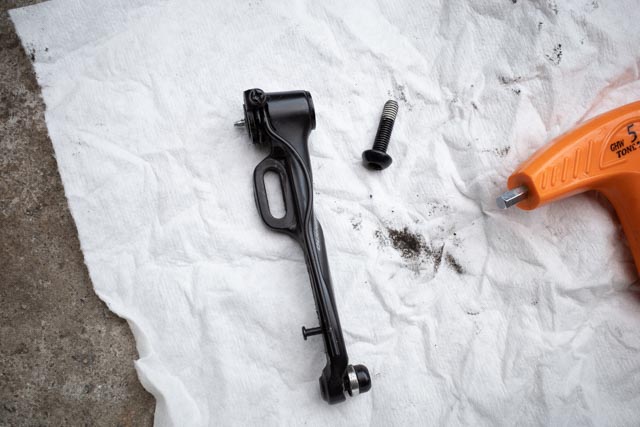
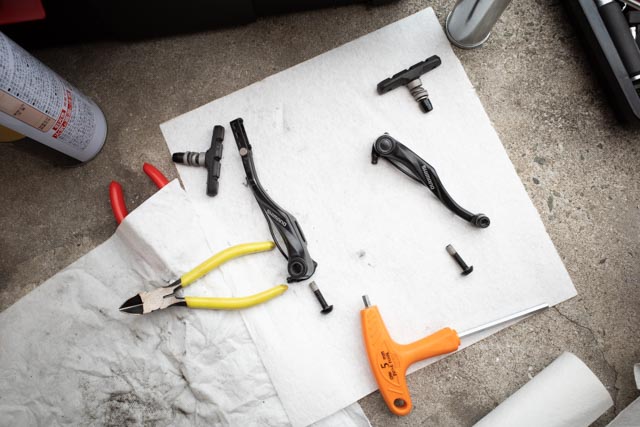
ついでにVブレーキのアームも外して清掃とグリスアップ
取り付け基部はスプレーオイルで済ますとブレーキのたびに可動部のわずかな隙間の為にカツンと音が大きく響くのでグリス必須です

いざ取り付けようとするとインナーケーブルの長さが足りない
セットに入ってた1mのケーブルを使用したのですが延長したアウターには短かったようです
ということで2mのインナーケーブルで取り付け、実際合わせるとアウターも長すぎたので10cm延長くらいに調整
(最終的にインナーケーブルは1.1m使用しました)
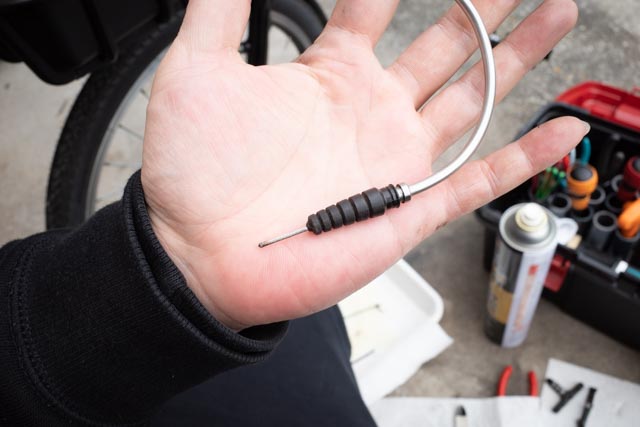
何度もワイヤーを通してるうちにインナーワイヤーリードユニットもなんだか引っ掛かる?ような感じがでてきたので予備の新品と交換
あとは微妙なレバーの遊びを見つつワイヤーの取り付け位置調整して固定位置が決まったらワイヤーカットしてエンドキャップをカシメ
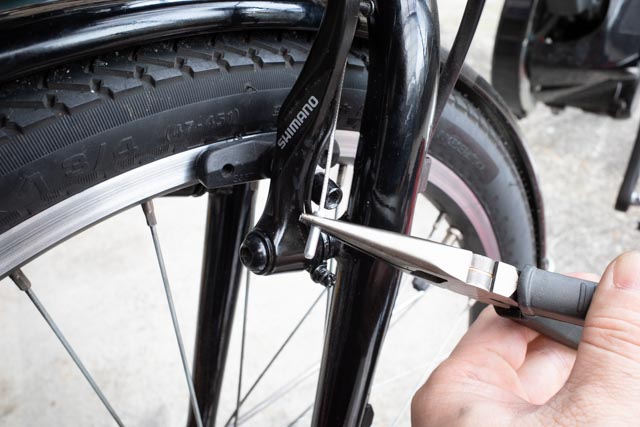

こんな感じに

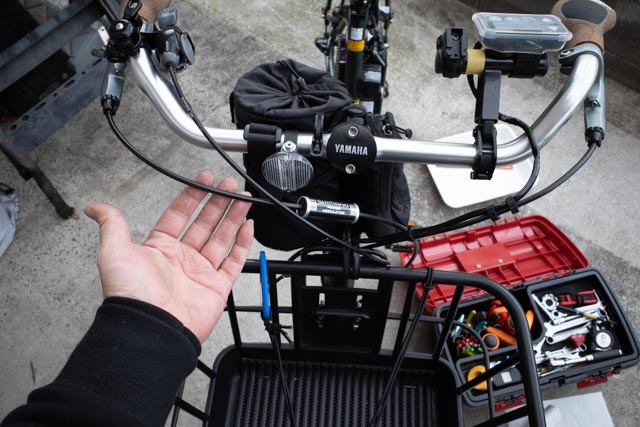

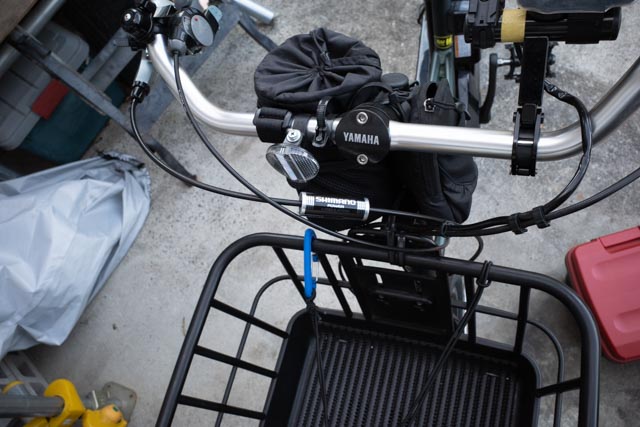
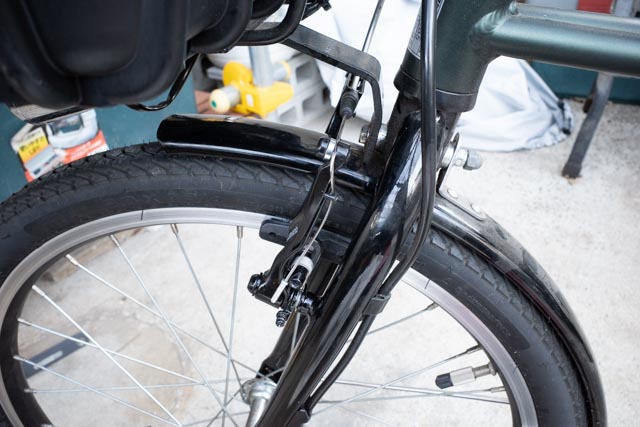

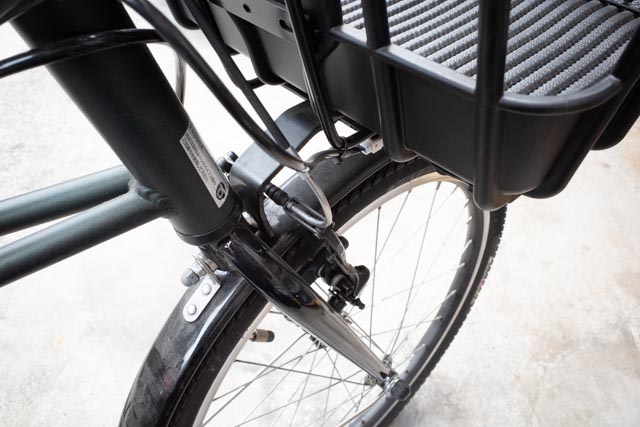
結果的に約10cm延長、ケーブルの曲がりも緩やかになってステー類にも接触せず良い感じ
試走してみて特に問題も出ずどうにか完了、気持ちワイヤーの動きが軽くなったような?
やり方を調べたりダラダラ作業してたら5時間くらいかかってしまったけど次は30分もあればいけるかな?
次がいつかはわからないけど
